Quick Steps to Creating a Page
Again, creating a project in Artisan is a piece of cake—and a quick one at that since it is just a page. You may decide to build just a page if you are creating a greeting card or a page for a physical scrapbook.
To keep with the baking analogy (as described in Quick Steps to a Photo Book Project), before you click, just like following a recipe, it is wise to gather your ingredients (even if you are making just a piece of cake)! Browse through your photos and decide on a topic. Maybe you want to document an event or moment. Make a note of the folder on your hard drive where your photos are stored. You may even have set up a special folder that contains all the photos you want to use (e.g., C:\My Documents\Photos\2015\Natalie_16_Birthday).
Here are the basic steps for building a page project in Artisan:
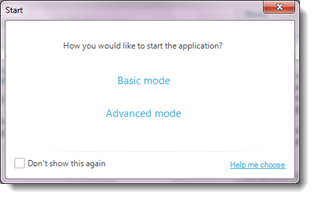
- Launch Artisan.
A Start dialog box appears asking if you want to launch in Basic Mode or Advanced Mode.
- Click Basic Mode (later, you can find for more information on Basic and Advanced modes, see Artisan Workspace-Your Digital Craft Room).
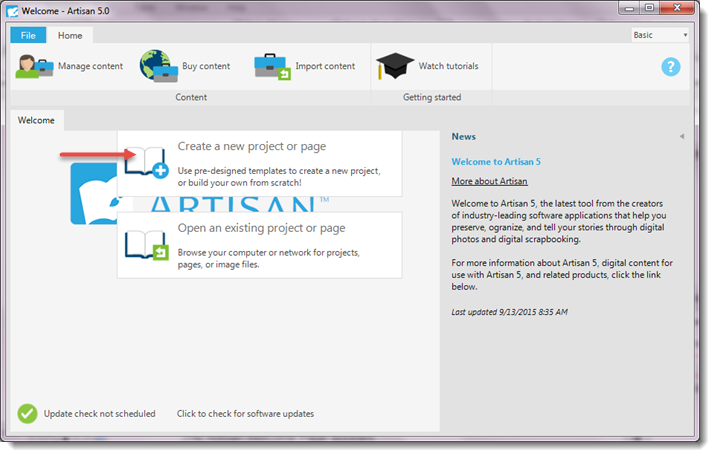
The Artisan Welcome Page appears.
- Click Create a New Project.
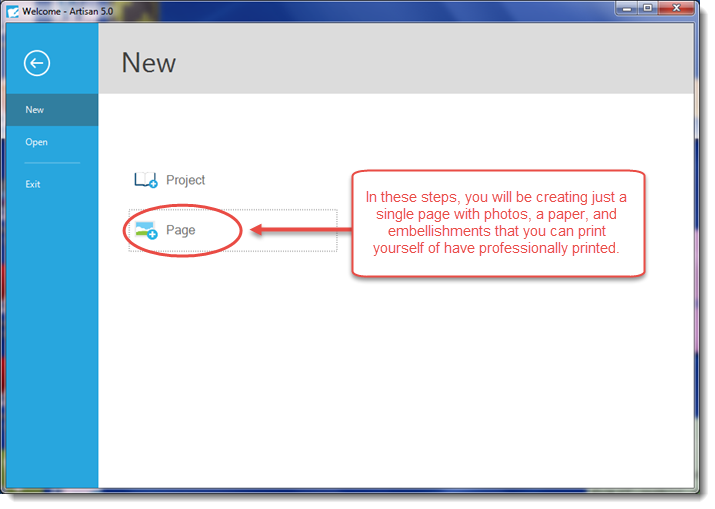
The Project Wizard window appears asking you if you would like to create a project or page.
- Click Page.
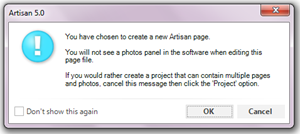
The following dialog box appears to confirm that you want a single page versus a book project.
- Click OK.
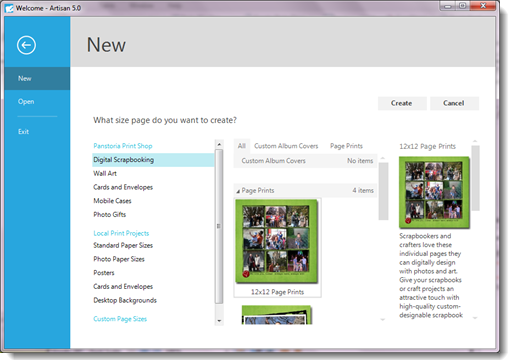
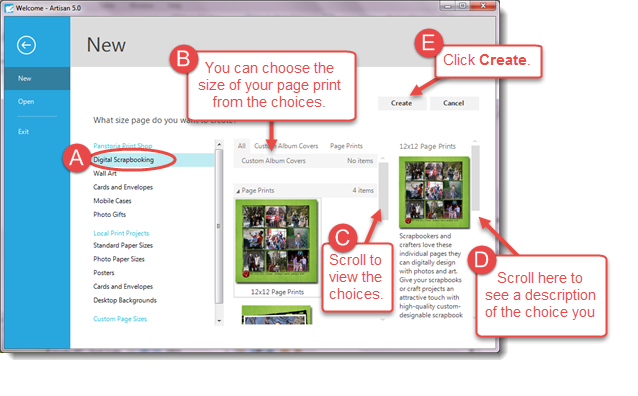
The Page Size steps displays.
- Follow the instructions on the following diagram to complete this step.

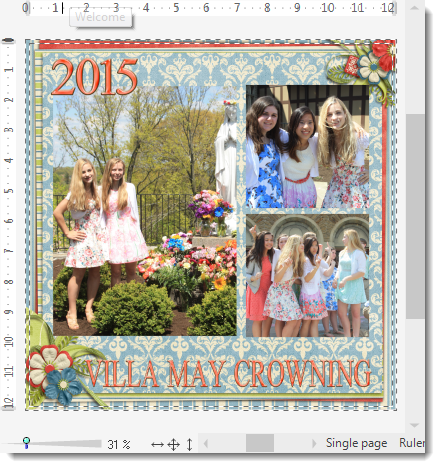
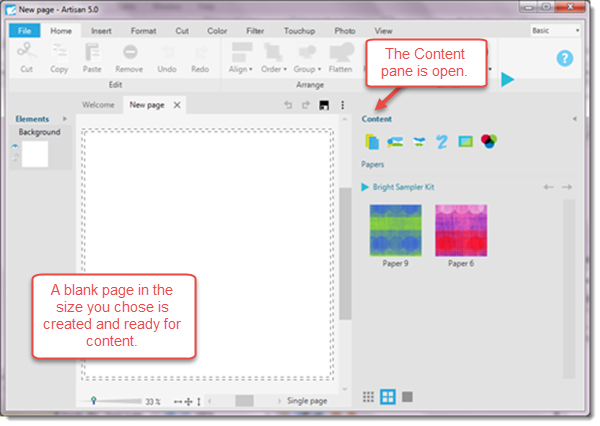
Your new page appears and is ready for content.
- From the Insert ribbon, Photos section, click
 .
.
An empty frame is placed in the center of your page, ready to move and size.

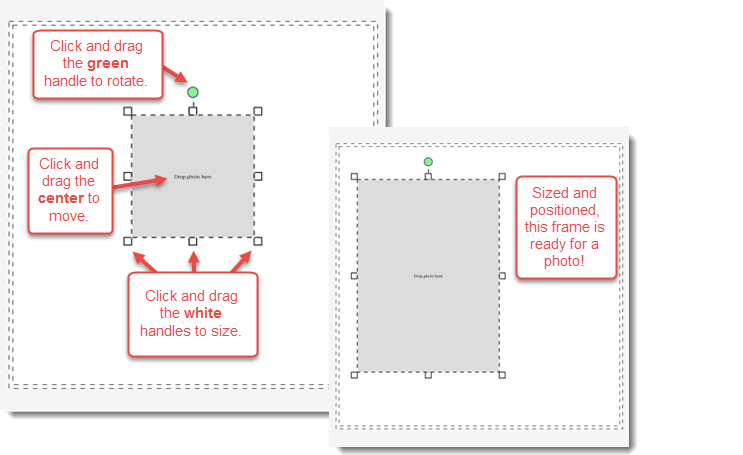
Note: Placing a frame on your page before you insert photos has many advantages. See Working with Frames and Mats for more information.
- Make sure the frame is still selected. From the Insert ribbon, Photos section, click
 , then click From my computer.
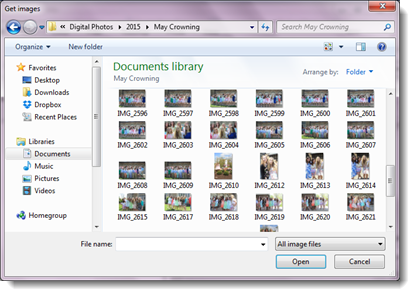
The Get Images dialog box appears.
- Navigate to, and select the photo you want, then click Open.
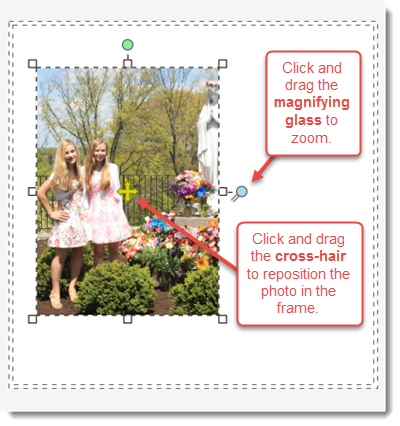
The photo appears in the frame on the page.

Note: Repeat steps 7-9 for each photo you want to add to the page.
Note: Once your photos are added, you can decorate (format) other aspects of the page. See the What Now? section in Quick Steps to a Photo Book Project for ideas on how to make your page look fabulous!
Note: The section Previewing and Printing Your Final Project covers printing and ordering copies of your project.